Hello! Happy Friday! I hope you're all ready to have a great weekend. Today I'm sharing this ikat inspired nail art design with you. I also threw in some rhinestones because I haven't used any in a while. I feel like these ikat designs are a little misunderstood because a lot of people don't even know what it REALLY is. Ikat (ikkat) is a dyeing technique used to pattern textiles. The yarns are wrapped tightly in little bundles and then are dyed prior to being made into the textile. So really... ikat doesn't have any kind of specific pattern. When people say "ikat" they're sort of referring to the way the brushstrokes look in the art. Most people who do ikat nail art designs will make them using small vertical strokes which give it a similar look to ikat. I could go on, but I'm not an expert and Google would be able to help you more than I can. I just wanted to give you some sort of idea as to what it is.
Products Used:
Beauty Secrets - Base Coat
Wet 'n' Wild Megalast - Whipped Topping
China Glaze - Custom Kicks
Zoya - Cole
China Glaze - Lemon Fizz
Butter London - Hardwear P.D. Quick Top Coat
Rhinestones from Born Pretty Store and MoYou London
I think the color combination I picked is really cute for the upcoming spring and summer months. Obviously, it can be changed to any color which also makes this a fun design.
If you want to see how I created this design, check out my video tutorial below!
Hey everybody! I hope you're having a great weekend! I'll make this post super short since it's a Holiday weekend. Today I have some flamingo nail art photos to share with you. Along with the flamingos I also created a polka dot and floral nail art design. Everything is hand painted, like usual, with a small nail art brush and a dotting tool. The tutorial for this design will be embedded below.
Products Used:
Beauty Secrets Base Coat
China Glaze - New Birth
Plaid Apple Barrel Acrylic Paint
Butter London - Hardwear P.D. Quick Top Coat
Dotting tool
Nail art brush
If you want to see how to create this design, then watch my video tutorial below.
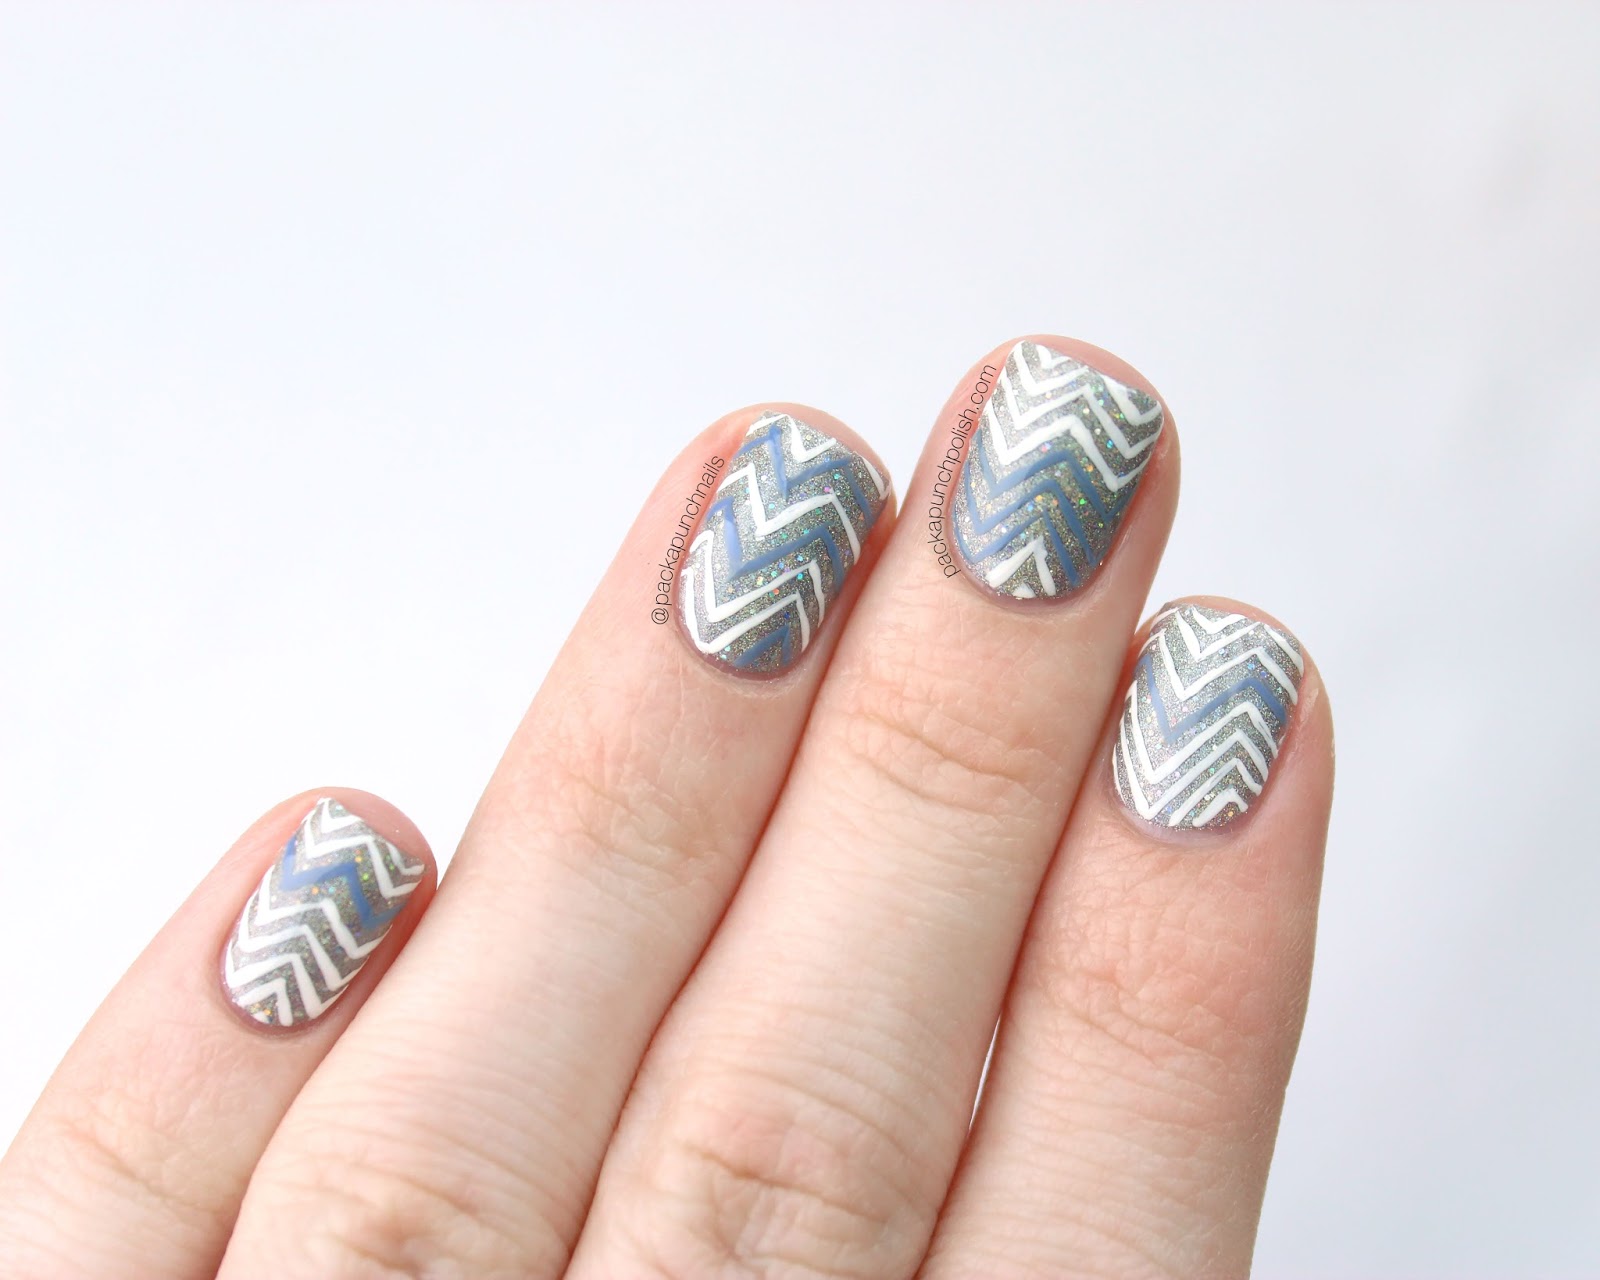
Hello everyone! I hope you're all having a great day! My Tuesday is going pretty great so far. I did a lot of adulting today. Which means I was on the phone all day dealing with tax and insurance things. Sounds fun right? Now that I'm done with all of that I can share this fun little chevron nail art design with you!
I always love chevron designs but I always have a hard time hand painting them. I feel like they get super wonky or all the lines are completely different sizes or going in different directions. However, this time I feel like I did a pretty good job! The lines are thin and for the most part look the same! YAY! SUCCESS! "But Sam, why don't you just use nail vinyls? They're so easy!" They are, but I really don't like the idea of using nail vinyls for nail art. I totally understand why people use them and they're awesome, but I like the challenge of hand painting things. Plus, not everyone has the money to buy them. (Ahem, me. I'm a broke 23 year old fumbling around learning how to be an adult.) I don't like paying for things I'm going to use once and then immediately throw out. I'm not saying I would never use them, but meh... Not my thing. If you want to know all the products used make sure to check out the list below. And as usual the tutorial for this design is below all the photos. :) I hope you guys have an awesome week and I'll catch you later.
Hey everybody! I hope you're having a great week so far! Today's nail art is a little mix and match-y with some floral print, polka dots, and stripes. I don't have too much to say for this design. I just went with what I was feeling and this is what I came up with. Everything is freehanded except for the stripes. I used striping tape for those nails because it's a million times easier. I can't draw a straight line to save my life.
Products Used:
Beauty Secrets - base coat
Wet 'n' Wild Megalast - Whipped Topping
OPI - Privacy Please
Wet 'n' Wild Wild Shine - Black Creme
China Glaze - Seas The Day
China Glaze - Don't Get Derailed
China Glaze - Secret Peri-wink-le
China Glaze - City Siren
China Glaze - Dance Baby
Plaid Apple Barrel - acrylic paint
Striping tape
Butter London - Hardwear P.D. Quick top coat
Want to learn how to create this design? Watch my video tutorial!
Hello! Wow! It's been a while. I haven't uploaded or blogged in about a month. I'm here to share some koi fish nail art with you! There's just something about koi fish that is super relaxing to me so I wanted to put some on my nails. I was going to use a creme polish, but I decided to go with glitter instead. I'm super happy I did! I think it gave it a little extra something that it could have been missing, but is now not missing.
Products Used:
Beauty Secrets base coat
Wet 'n' Wild Megalast - Whipped Topping
China Glaze - Isle See You Later
China Glaze - Blue Hawaiian
Plaid, Apple Barrel acrylic paint
Butter London - Hardwear P.D. Quick Topcoat
I'm really happy with how these turned out. I think they're super cute. If you want to learn how to create this nail art design feel free to watch my video tutorial below!
It's officially December! Which means holiday nail art is fair game. Today I'm sharing my first holiday design of 2015 with you! It's a really cute reindeer with a simple style fair isle design. I am so proud of my little reindeer! I think he's absolutely adorable. I would definitely put him on all of my nails instead of just one. I can't get enough of him. My boyfriend named him Ralph. hahaha! So if you want a pet... here you go! Nail art pets.
I decided that I'm going to start doing a quick list of the products used for nail art designs because I feel like it's easier. Not only for me, but also people who aren't too fond of reading blog posts. For the most part, people don't stay on my blog posts too long. That's according to my analytics anyway. I assume most people come for the photos, which is 110% alright with me.
Products Used:
• Zoya - Anchor base coat
• Motives Cosmetics - Wedding Dress
• Butter London - Pillar Box Red
• China Glaze - De-Light
• Plaid Apple Barrel Acrylic Paint
• Butter London - Hardwear P.D. Quick top coat
• Nail art brush
• Dotting tool
I will have a few more holiday designs before December passes, but I'm pretty happy to say that I'm proud of my first one. I hope you guys are having a great start to the new month!
If you want to learn how to create this design yourself, feel free to watch my video tutorial below!
Hey everyone! I hope you're having a smooth Monday. Hopefully you're easing yourself into the real world again after binging on turkey and other delicious food! Today I have a floral print nail art to share with you. A watercolor floral!
For the white watercolor floral base I used Motives Wedding Dress. For the purple nails I used China Glaze All Aboard. The flowers were done with Apple Barrel acrylic paint by Plaid. The glitters on the purple nails are from Born Pretty Store. I also used two different top coats for this design. I went with Butter London's Matte Finish top coat for the floral and then Lauren B Beauty's Gel-Like top coat for the others.
I'm hoping these colorful flowers will keep the winter blues away! I'm definitely a summer girl even though my birthday is in December. Anything under 70 degrees is too cold for my body. What do you guys prefer? Hot or cold weather? Or are you somewhere in between?
If you want to see how I created this design and want to give it a try yourself, then check out my video tutorial below!
Happy Thursday everybody! I'm currently shivering like a popsicle because it's freezing in my house. I hope everyone is a little warmer than I am! Today I'm sharing some vampire bite nail art with you! I think this is a nice combination of cute and mild gore for the people who want best of both worlds, but don't want to see the gross, disgusting, and scary nail art that people are creating.
I used China Glaze Dandy Lyin' Around over Wet 'n' Wild French White Creme as the base. The lips and fangs were done using Apple Barrelacrylic paint. If you want to take a short cut for making this design, you can use a stamping plate to stamp on the lips! I know I've seen lip prints on multiple popular plates out there!
If you want to see how I created this design, then feel free to watch my video tutorial below!
Hello everyone! I'm back again with some classic Halloween nail art! The blood splatter manicure. Done by everyone and their mother and it still never gets old. I would rock this on a daily basis if I didn't change my polish constantly! Since I'm doing my little Halloween series on my YouTube channel I decided I needed to do some basic and classic designs for my beginner viewers. Even though everyone has seen a tutorial for these, sometimes it takes that millionth video for it to click and for you to finally get it right.
My white base is Wedding Dress by Motives Cosmetics. It is one of my favorite white polishes in case you're wondering! For the blood splatter I used City Siren by China Glaze and splattered it against my nails using a drinking straw. Incredibly messy? Yes. Incredibly worth it? Also yes. I didn't use a top coat for this because I like the slight texture that the splatter gives to the design.
If you want to see me create this design, then check out my video tutorial below! :)
Hey everyone! Here are my swatches for the China Glaze Ghouls Night Out Collection. This is for Halloween of 2015. I purchased these a while ago, but I didn't get around to swatching them right away. So, I'm doing now it! This is a 6 piece collection and it consists of 3 creams and 3 glitter toppers.
Drink Up Witches is a really bright neon green cream. This is 3 coats with top coat.
Something's Brewing is a clear based polish with pastel green and black hex glitter. The hex glitters range in size from really large to really small. This is one coat over Drink Up Witches with top coat.
Lady And The Vamp is a bright orange cream. This is 3 coats with top coat.
Cackle If You Want To is a clear based polish with purple and black hex glitters. The hex glitters range from very large to very small. The special thing about this polish is that the purple hex glitters are striped. They kind of look like purple pickle chips. This is one coat over Lady And The Vamp with top coat.
Looking Bootiful is a gorgeous purple cream. This is 3 coats with top coat.
Ghostess With The Mostess is a clear based polish with pastel orange, pastel green, purple, and black hex glitters. The sizes range from very large to very small. This is one coat over Looking Bootiful with top coat.
I really enjoy this collection! I wish the polishes would apply in 2 coats instead of 3, but the colors are so pretty that I don't mind. I love the whole collection, but if I had to pick favorites I'd have to go with Drink Up Witches and Ghostess With The Mostess.
If you want to see how these polishes apply then check out my swatch video. :)
Hey everybody! It's been a while since I've shared some nail art with you. I bet you didn't except to see this kind of nail art either. I started my Halloween series on my YouTube channel! Every video I upload will be related to Halloween in some way. They will either be Halloween colored or design themed.
For my first video I did zombie bites! An SFX style nail art. I really love the way it turned out. It's not a practical, every day nail art design. It's definitely only meant for a night out to a party or to compliment a zombie costume because it has a ton of nail polish layers and it does take a while to dry. Someone in the comments section of my tutorial video mentioned that you could do this on a set of fake nails and let them dry ahead of time. That way you can just glue them on when you're ready to go. I thought that was brilliant! It's certainly something to keep in mind if you want to give these a try.
I started out using a base coat and a red polish. I used China Glaze's Hey Sailor. I built up the red polish and then placed a clear top coat over it. Then I added a nude polish. I used OPI's Samoan Sand. Once I built up my nude polish to be opaque I made it matte with Butter London's Matte Finish top coat. After that I used a dotting tool and started to rip holes into the polish since they polish underneath is still very wet. I let them dry and then added details with acrylic paint. I used a thinned out blue for the veins with a striping polish and then sponged on thinned out red using a makeup sponge. Then I filled up some of the holes with my red polish and made some of them look like they were dripping blood.
Gruesome yet fun! What do you guys think about this design? Would you wear it? If you want to see exactly how I did this design, then check out my video below.
Hello everyone! I hope you're all having a great weekend so far. I'm sharing my swatches for China Glaze's The Great Outdoors Collection! This is their Fall collection for 2015. It's a 12 piece collection with 5 cremes, 3 duochromes, 2 metallic foils, 1 shimmer, and 1 glitter. Enjoy the photos below, or you can scroll all the way to the bottom and watch the swatch video that I uploaded to my YouTube channel.
Free Bear Hugs: A deep black/red creme. This one has a great formula. It has a jelly texture and finish to it so it dries really shiny without a top coat. This is two coats with a top coat.
Wood You Wanna?: A brownish burgundy metallic. This one is almost like a hybrid between a metallic and a foil. It's so shiny and pretty. This one is pretty opaque. This is two coats with a top coat.
My Lodge Or Yours?: Rosy mauve creme. This one was so much more opaque than I thought it was going to be. Almost a one coater, but not quite. Super easy to apply. This is two coats with a top coat.
Cabin Fever: A pinkish red to orangey copper duochrome. This one is literally perfect for Fall! This reminds me so much of leaves changing color. This applies pretty well. It has some brush strokes, but they seem to disappear a little bit once it dries. This is two coats with top coat.
S'More Fun: A bright yellow green cream. Why is this one called S'More Fun? This is not s'more colored AT ALL! Anyway, it's still a nice color, but this one was the worst polish in the collection in terms of application. It was really streaky and a little runny, but it wasn't too horrible to apply as long as you wipe a lot of it off your brush. This is three coats with top coat.
Gone Glamping: A gold and green duochrome. This one is a little more sheer than the other duochromes in this collection. It applies very even and is pretty easy to smooth out, but it does have some brush strokes. This is three coats with a top coat.
Take A Hike: A dark green creme. This one has an amazing formula! It's super easy to apply and it's a one coater. I never wear less than two though, so I added the extra just because. This is two coats with a top coat.
Pondering: A purple, blue, and green shifting duochrome. I really love this one! It always applies really well. Just like the other duochromes in this collection, this one had some brush strokes before it dried, but it evened out. This is two coats with a top coat.
Let's Dew It: A blue and silver glitter in a clear base. This one is SO pretty! It's jam packed with glitter and if you're wearing it as a topper, you only need one coat. This is one coat over Wet 'n' Wild's Black Creme.
Sleeping Under The Stars: A dark blue creme with pink shimmer. This one was also a one coater. It was very opaque, but I still went ahead and applied two coats. I'm not a huge fan of the shimmer in this one. It's barely noticeable to me. It's really only visible if there's direct light shining onto it. I've seen other people's swatches and their shimmer seems so much more intense than mine, so I have no idea. This is two coats with a top coat and taken with a flash.
Check Out The Silver Fox: A silver metallic foil. This one has great coverage and an easy formula. This is two coats with a top coat.
Change Your Altitude: A "greige" creme. A greyish beige creme for those of you who hate word combinations. This is grey with the slightest hint of brown. Great formula and coverage. This is two coats with a top coat.
Overall, I thought this collection was okay. It wasn't super original, but I did enjoy them. Most of them had pretty good formulas. Check out my swatch video above for my favorites! Let me know which ones you like the most!
Have a great weekend everyone! Have fun and stay safe!
Also, I purchased these polishes with my own money.